The Basics

If you have always dreamed of recording your own song, but you don’t know where to start, this blog post is for you. In this post, I will share with you the basic steps to recording a song, from choosing the right equipment and software to editing and mixing your tracks. Whether you want to record a song for fun, for your portfolio, or for a professional release, these steps will help you achieve your goal.
Producer GUDEN PRO trying to make a beat in the studio
Step 1: Choose your equipment and software
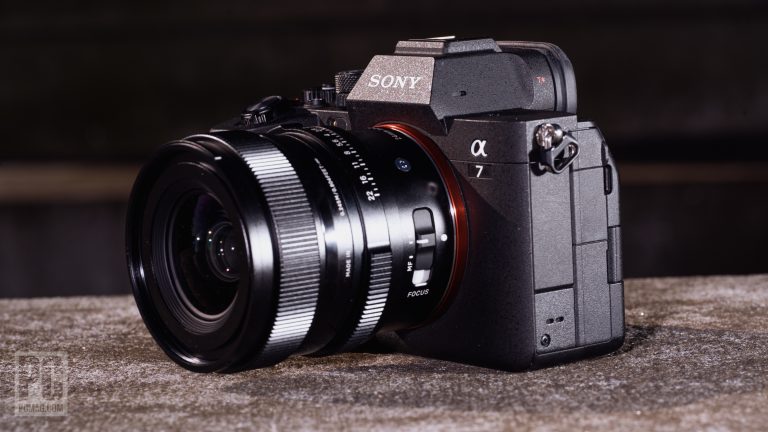
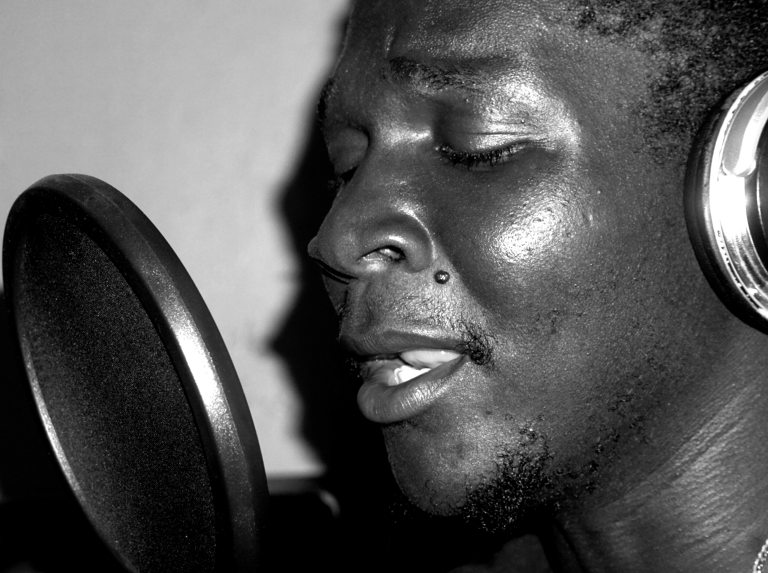
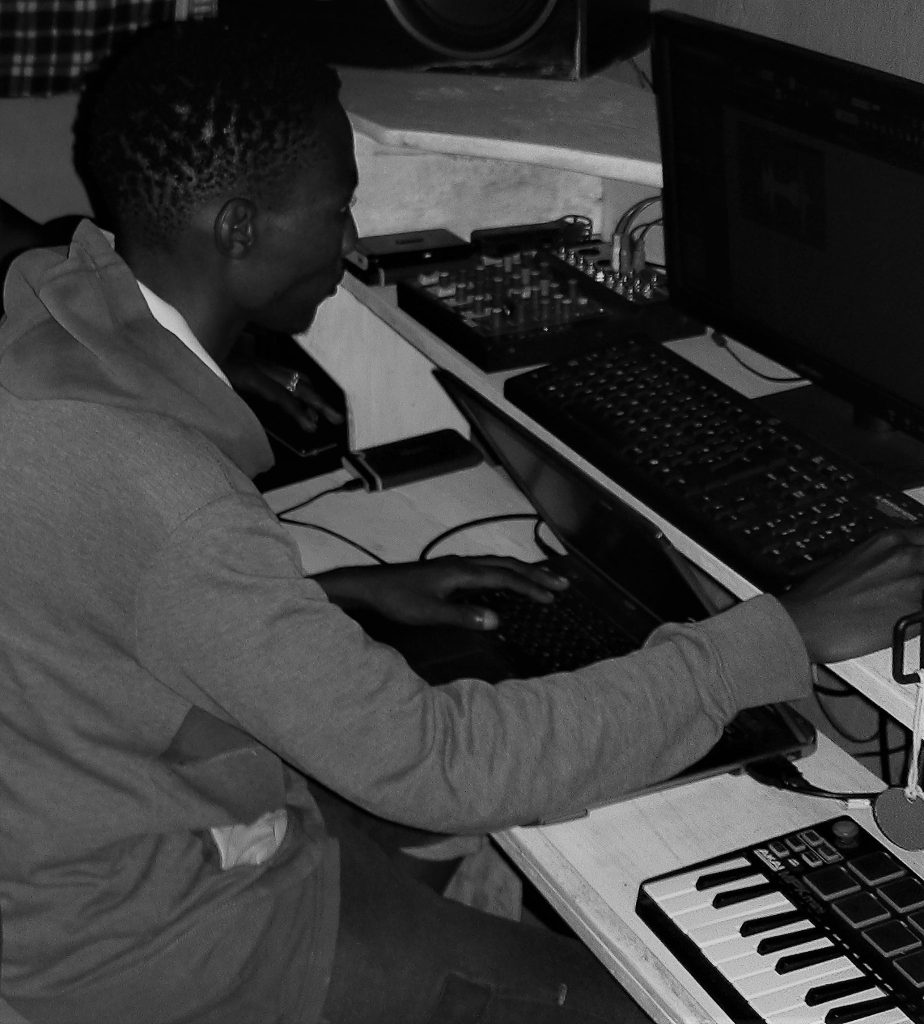
The first step to recording a song is to choose the equipment and software that suit your needs and budget. You will need at least a microphone, an audio interface, a computer, and digital audio workstation (DAW) software. A microphone is a device that captures your voice or instrument sound. An audio interface is a device that connects your microphone to your computer and converts the analog signal into digital data. A computer is a device that stores and processes digital data. DAW software is a program that allows you to record, edit, and mix your tracks.
There are many types of microphones, audio interfaces, computers, and DAWs available in the market, so you should do some research before buying them. Some factors to consider are the quality, compatibility, features, and price of each item. You can also look for reviews and recommendations from other users or experts online.
Step 2: Set up your recording space
The second step to recording a song is to set up your recording space. You will need a quiet and comfortable place where you can record without any background noise or distractions. You will also need to optimize the acoustics of your space to avoid unwanted echoes or reverberations. You can do this by using acoustic panels, blankets, carpets, or curtains to absorb or diffuse the sound waves.
You should also arrange your equipment and furniture in a way that allows you to access them easily and safely. You should have enough space to move around and perform without bumping into anything. You should also have enough lighting and ventilation to keep you comfortable and focused.
Step 3: Prepare your song
The third step to recording a song is to prepare your song. You should have a clear idea of what you want to record, such as the genre, style, mood, lyrics, and melody of your song. You should also have a basic structure for your songs, such as the intro, the verse, the chorus, the bridge, and the outro. You can use a metronome or a click track to keep a steady tempo and rhythm throughout your song.
You should also practice your song before recording it. You should rehearse your vocals or instrument parts until you feel confident and comfortable with them. You should also warm up your voice or instrument before recording to avoid any strain or damage.
GUDEN Pro
Step 4: Record your tracks
The fourth step to recording a song is to record your tracks. You should connect your microphone and audio interface to your computer and launch your DAW software. You should create a new project and name it according to your song title or theme. You should then create one track for each vocal or instrument part that you want to record. You should also adjust the input level and output level of each track to avoid clipping or distortion.
You should then press the record button on your DAW software and start performing your part along with the metronome or click track. You should try to record each part in one take if possible, but you can also record multiple takes and choose the best one later. You should also use headphones while recording to avoid any feedback or bleed from the speakers.
Step 5: Edit and mix your tracks
The fifth step to recording a song is to edit and mix your tracks. Editing is the process of trimming, cutting, copying, pasting, moving, or deleting any parts of your tracks that you want to change or improve. Mixing is the process of adjusting the volume, panning, equalization, compression, reverb, delay, or other effects of each track to create a balanced and cohesive sound.
You can use the tools and features of your DAW software to edit and mix your tracks according to your preference and vision. You can also use plugins or presets to enhance or modify your sound. You should listen to your mix on different speakers or headphones to check for any issues or inconsistencies.
Step 6: Export and share your song
The final step to recording a song is to export and share your song. Exporting is the process of converting your project file into an audio file that can be played on any device or platform. Sharing is the process of uploading or sending your audio file to other people or platforms that can listen to or distribute it.
You should choose an appropriate format and quality for exporting your audio file depending on how you want to share it. For example, if you want to share it online, you might choose an MP3 format with a high bitrate. If you want to share it on a CD, you might choose WAV format with a standard sample rate. You should also add some metadata to your audio files, such as the title, the artist, the genre, and the cover art of your song.
You should then upload or send your audio file to your desired destination, such as your website, your social media, your streaming service, your email, or your physical media. You should also promote your song and get feedback from your audience or peers.
Congratulations! You have just recorded your own song. I hope you enjoyed this blog post and learned something useful. If you have any questions or comments, please feel free to leave them below. Thank you for reading and happy recording!

Similar Posts

Leave a Reply

Your email address will not be published. Required fields are marked *